


System restore can be an option if Windows 11 experiences problems at any time — whether it’s unstable performance, lag, freezes, viruses, and so on.
Therefore, if you want to use system restore, make sure you have created a restore point when Windows 11 is in a stable state, for example when you just finished a fresh install.
This article will discuss how to do a system restore on Windows 11.
Performing a System Restore in Windows 11
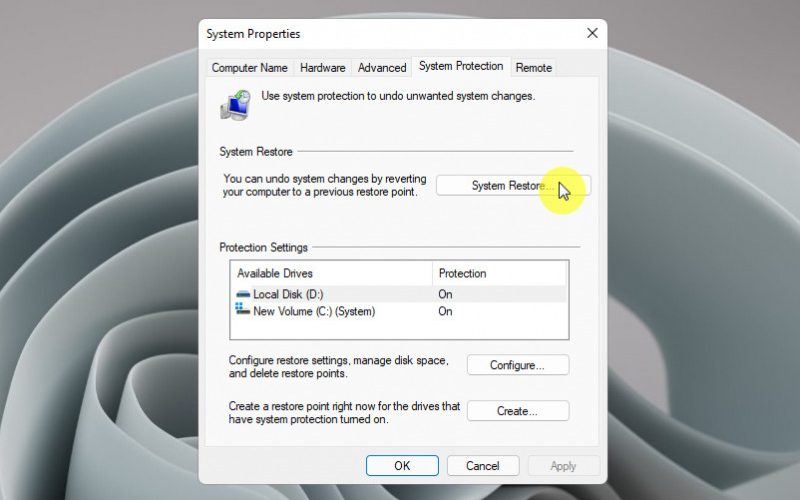
- Open Windows Run (Win + R), then type System Properties Protection .
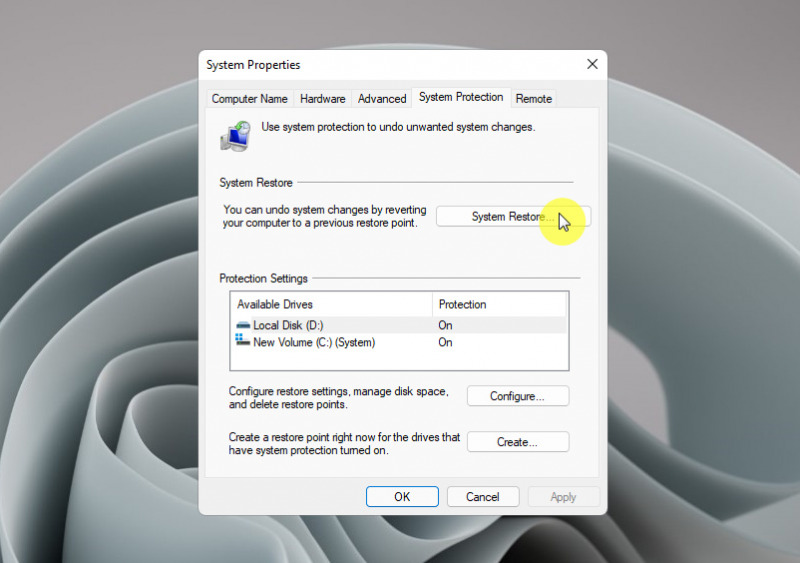
- Click the System Restore option .

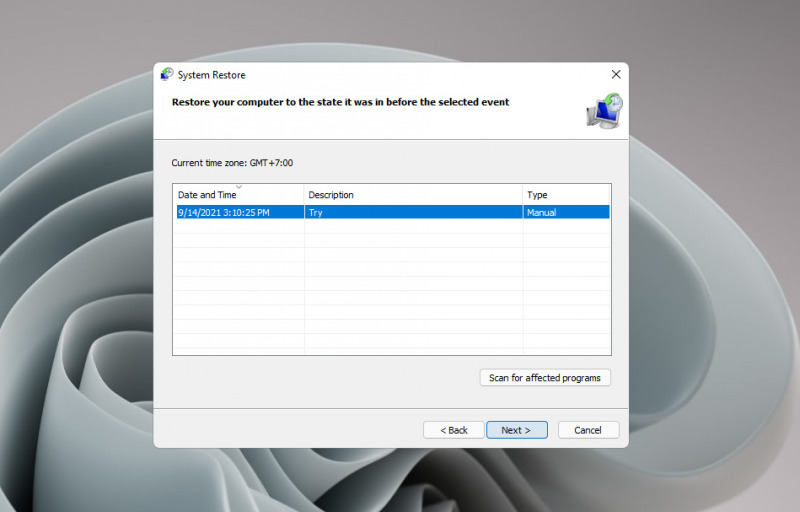
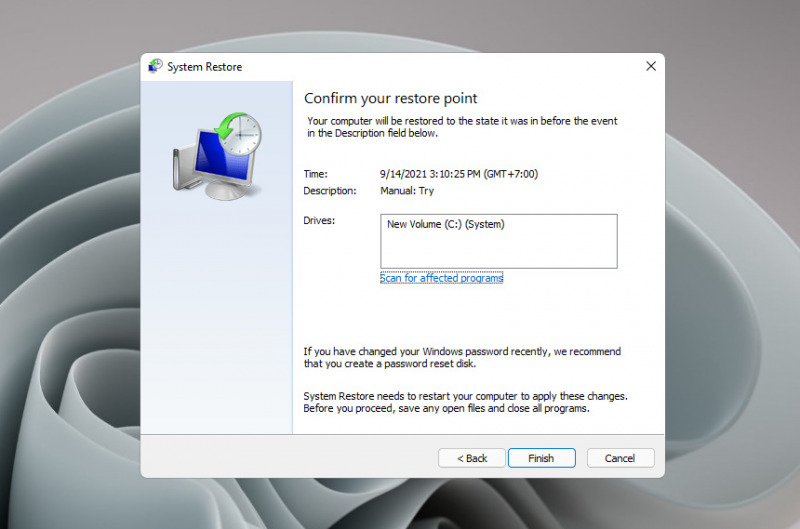
- Follow the instructions on the screen, until you are given the option to perform a system restore based on the restore point you created earlier. Select an existing restore point, then click Next .

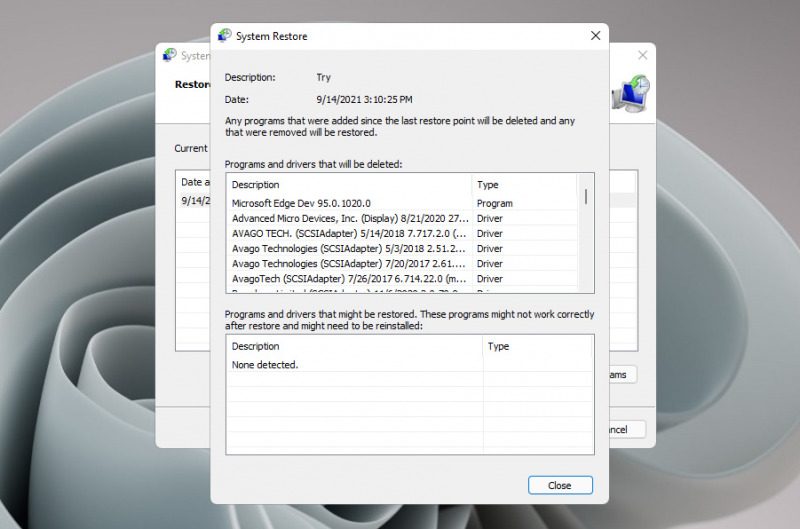
- Optionally, you can click the Scan for affected program option to find out what effects will occur when taking restore points. This includes the effect of changes to applications and drivers that will be removed, and vice versa.

- Finally, a final confirmation will appear before the system restore process is carried out.
- Done.
Then, you just need to wait for the system restore process to finish. The system will restart and the system restore process begins, the length of time depends on the size of the change between the current state of the system and the one in the system restore.